Showing posts with label Tilly walnes. Show all posts

Thursday, 22 November 2018

Stella Hoodie


As soon as Tilly Walnes new book came out I knew I wanted to make the stella hoodie and even more luckily when the big pattern swap was happening I saw that someone was getting rid of their free copy that came with simply sewing magazine. 

So I snapped it up immediately! And sewed it very quickly!


So the details!! The main fabric came from the abakhans fill a bag sale. I do have some left and I', debating between making a coco dress do a matching pair of sweat pants, any thoughts????

The fabric for the inside of the hood is an aztec type print and came from an old RTW dress. The dress had done that horrible thing where it becomes baggy and looks a bit naff so I re purposed it for the hood lining. 


I didn't have any cord for the ties so I made my own using the same fabric as for the rest of the hoodie. To be honest I quite like the body that they give to the hood when its up. 

The fabric has a quilted pattern on it and its very snuggly and warm. In fact I took this on our camping trip during the summer and I can confirm that it kept me lovely and toasty. I actually had Rikki take some photos of me on the campsite but he isn't much of a photographer and my eyes were closed on most so I had to scratch them and take some at home. 


Fit wise I cut a size 5. Normally I cut a 4 for tillys patterns but I wanted to make sure it would be big enough to wear lots of layers underneath. 

To be honest I still think the body is a bit short and so are the sleeves so both of those need altering on my next version. I really I think I need at least 3 inches onto the sleeves and about 6 onto the hem for me to feel like it looks right. 


Construction wise, with it being a free pattern it didn't come with any instructions. So I popped myself onto you tube and watched a video of someone making one up whilst I did the washing up so I'd have the gist.

The main parts were sewn on my over locker with just the top stitching and the ties being done of my regular machine. 

I did have to use a walking foot to get it through my machine but I always do for jerseys because it gives a bit more control and stops the fabric stretching weirdly.

I also did the button holes on my regular machine and I had to go over them a few times to get them looking nice. Doing buttonholes in jersey is such a faff but luckily this is a fairly stable one so it wasn't a massive issue I just had to fill in some gaps. 


The only thing I think its missing is a big pocket at the front. I think there is instructions in the book for how to draft one [Or maybes there is a pattern piece] But seen as I don't have the book I'll have to make my own which shouldn't be too hard. 


All in all I'm really pleased with how it turned out even if the sleeves and body are a bit short. I've been wearing it a lot for walking the dog in the evening when its cold and I need as many layers as I can get! 

Much Love 

Frankie 

xxx

Sunday, 22 January 2017

Tape Measure Lilou Dress

I'm currently sat in my dressing gown after being evicted from my bed. To cut a long story short I took a sleeping pill last night because I haven't been sleeping well so you can imagine my delight when lil man woke up at 6.00am this morning. Naturally he has since fallen asleep in our bed so I've been regulated to the settee.

Anyway I was going to write this last night but the lap top threw a dizzy fit and I spent the night nodding intelligently whilst Rikki muttered about IPs and Wps and Connectivity........ Literally didn't understand a word............. And the swines just popped down stairs to disturb me and left a guinea pig on the floor!

But anyway here's what I'm actually here to post about! 


So its a basic lilou dress from tilly and the button "love at first stitch"! But on the plus side I found all of the details of the alterations I've made hidden in a notebook down the side of the sofa! So I only work using the bodice block and tend to wing the skirt portion depending on how much fabric I have. But on the bodice block I originally traced a size 3, but since then have take about 2cm out of the top of each strap [front and back bodice piece] and widened the darts on the front bodice by 0.5cm and widened them at the back by 1cm and that's it! The fit is pretty banging if I do say so myself! 


The fabric is a cotton? that I got from abakhans [Sorry I cant find it on their website guys!] It came in this sort of greys and red colour way and a more muted beige colour way. I decided I like this one better but I know for a fact it also comes in a pink and orangey colour way and I've got my eye on that one next!

It behaves as you expect from any cotton really. Which did sort of remind me how much I love working with cotton! after sewing with knits and floaty fabrics so much recently the idea of using a fabric that actually behaved itself was quite novel! 


The zip is also from abakhans and came out of one of those £1 assorted bags of zips. Its an open ended zip so I stitched about an inch about the bottom so it can't come undone. This zip is also one of the neatest I have ever done in my entire life! seriously for an exposed metal zip its just so pretty!

I brought two metres of this and did some pretty crafty cutting to eek out this dress, I also went for a slightly less full skirt mainly for practicality reasons! I learnt in Vegas that the fuller the skirt the more likely a gust of wind is the flash your knickers! So the skirt is 20inches deep and I'm not sure how much across? But lets put it this way I have enough left from my 2m to make a skirt aswell! #winning 


The bodice is lined, and I sewed the hem by machine, which is pretty unusual for me as I usually like the hand sew my hems! This change of heart was because I wanted to finish the dress before I had to pick up little man from school!

Anyways I actually made this dress a little while ago when I was fed up of the miserable drizzle we were having and I thought a summer dress might encourage the sun to come out! The next day it snowed.............So yeah I guess you can blame me if your car got stuck!

Much Love

Frankie

xx

Thursday, 1 December 2016

Coco Dress Hoodie Hack

I love a pattern hack as you may of gathered and I really love a stash busting pattern hack! 


Okay so the pattern is the Tilly and the buttons coco dress pattern but the short top version, with the long sleeves and the cuffs [but not turned up] and then for some extra jazzyness I added a hood by copying the one off my dressing gown and a pocket I copied off one of Rikkis hoodies.  


Now due to this being a stash busting project I had to do some colour blocking because I didn't have a enough of one fabric. So the body and the bottom of the sleeves and the trim around the hood are all done in a poly knit that I found in a bargain bin at abakhans .


And then the cuffs, the pocket and the hood + the hood extension [because guess who cut their hood too small!] are done in a marl grey ponte de roma from Minerva Crafts . I also used the marl grey to make the tops of the sleeves because I didn't have enough of the poly knit to do the whole sleeve. Funnily enough this ended up being one of my favourite features and I'll definitely be doing it again. 


It took about 2 1/2 hours to make from cutting out the finishing. I Sewed all of the seams on my over locker including stetting in the sleeves and adding the cuffs. I used my regular machine for all the top stitching on the pocket and the hems.


All in all I love how it turned out, Its slim fitting enough to wear under my coat for the school run but warm enough to keep me toasty!

I love the kangaroo pocket at the front, Its not exactly functional but I think it add a ready to wear feel to it and I've been using it to carry my phone around in!

Mainly I just love how beautifully it all came together! I'm definitely going to make another one although this time I think I'd like to make one in this striped ponte de roma from girl charlee  but using this aztec print from girl charlee for the accents like the hood and pocket.

Much Love

Frankie

xxx

P.s Happy 1st of December! SANTA'S ON HIS WAY!!!!! 

Saturday, 9 July 2016

Coco Dress In Roanne Jersey from Sew Essential!

Recently the good folks at Sew Essential were good enough to get in touch with me and see if I'd like to do a lil review of their website and fabrics! And well Momma didn't raise no fool so I pretty much tripped over myself to say yes!

I must have spent a good hour pursuing their website and that was without looking at their wool! I did however spend a good 15 minutes trying to convince Rikki that £529.00 for this Janome machine is in fact completely reasonable, and yes I do want one, I promise I'll be good! 

Anyway after much deliberating I chose the Coco Dress pattern by Tilly and the Buttons. It's a pattern I've been wanting for a while but haven't gotten around to getting.


And being that this was my first foray into this sort of proper jersey sewing , Lucy was kind enough to recommend me some fabric [this is a huge thing for me, if a shop owner can't give me a personal recommendation I'm not interested because chances are they don't know about their stock or care about their customer!]. 

Anyway she recommended some Roanne jersey that they carry, which comes in some of the most beautiful rich colours I have ever seen. The Roanne jersey is a "medium weight viscose nylon elastane jersey" which I'll roughly translate for you as: a lovely drapey fabric, with good weight, that's softer than a babies bum. I opted for the Amethyst colour with Kingfisher [teal] pockets. Sensible but with a pop of colour! I'm eyeing up a black and red version next!


The Pattern

The pattern comes printed on thick paper, in an expandable envelope so you can fit your traced pattern pieces in as well. The pattern is only printed on one side so technically you could cut it......but! the paper its printed on is such lovely quality that I'm not sure you'd want to. Plus with the simplest version only having three pattern pieces it's not exactly a beast to trace.

Its a simple shape with an aline skirt, and no darts. I cut a size four, but I think I could have gone down a size as I took this version in about 1 inch on each side.  


The Fabric

Naturally I gave it a prewash and I'm pleased to report that their was no colour running, no bobbling and no shrinkage. In fact it came out of the washer pretty much as it went in. And it didn't need ironing! Can we hear a hallelujah ? 

It didn't shift too much during cutting but I made sure to line up the fabric correctly and put lots of pins in. And I cut it out on the floor because you should never cut jersey fabric if its hanging off a table because it stretches and you can end up with pieces that are too short. That's basically a top tip guys!


Construction

I pretty much stuck to the instructions provided with the pattern, I used a zig zag stitch and my walking foot. Mainly because the walking foot helps with the feed of the fabric. To be honest though my walking foot was already on my machine because I use it for EVERYTHING! Velvet, leather, quilting, shifty fabrics and now jersey!  

The instructions are very clear and explain everything from stay stitching to stabilising the shoulders clearly.

I finished my seams with a second row of stitching to keep things neat but this jersey doesn't fray so that was more for peace of mind rather than necessity. [Nobody wants to find a popped seam when they are out at Asda] 


I used a Ballpoint needle for my main seams and a Twin needle for all my top stitching on the neckline, arms, hem and pockets! The twin needle isn't necessary but it gives a really professional finish , just like you'd get in the shops! 


I've been wearing this belted because well I'm not bloated at the moment? Yeah my wardrobe very often depends on how bloated my stomach is [gluten I'm looking at you] Luckily I was not feeling the bloat and could define my waist without people asking how far gone I am! 


Here's the top stitching detail on the pocket.


And how the top stitching looks on the inside and on the outside of the hem! By the way if your machine doesn't have two thread spools for your twin needle you can just just pop one of your spools into a glass or mug! or you can get super crafty and tape a chopstick to the side of your machine as a crude second spool holder [Plus it justifies all those chopsticks you have in the drawer from your Chinese takeaway.]


So do I think it was a success?

Yes the fit isn't quite what I would have liked but I think it will still work belted and its nice and practical for the school run.

I'm really pleased with the twin top stitching and with how the fabric behaved during sewing!

I'm also chuffed to bits with the pockets! Which I eyeballed! Measuring is for wusses!

To say I made this in an evening, from 7.00pm till 9.30pm I'm really pleased! and that evening included tracing, cutting, having my tea, and fielding two phone calls! 

I'm also in love with how it feels on is basically secret pyjamas! 

So yes I'm now a fully converted member of the Coco club! and I can't wait to make my next one!!!  

Much Love

Frankie

xx

Disclaimer: Although Sew Essential sent me the pattern and fabric for free all the love and opinions are my own! I would never provide reviews for products I would not use or do not like, as a teacher once told me I am honest to a fault!


Thursday, 2 June 2016

Tartan Delphine Skirt

I had about a metre of fabric left after making my tartan pencil skirt so I thought it might be nice to whip up a delphine skirt from love at first stitch.


Every time I put on my first delphine skirt I think "wow I really like this I should make another" and well after saying that for about 2 years I've finally got around to it!


Its pretty basic construction wise, four pattern pieces and no darts. Its not particularly fabric hungry either I think I got this out of about a metre and that's with pattern matching as well.


I did have to cut the waistband on the bias though because there wasn't enough fabric to pattern match there. I'm glad I did though because its a nice feature. cutting the waistband on the bias did mean I interfaced it though, usually I skip the interfacing because 1. I'm lazy and 2. I don't think it added that much structure? I mean this folds anyway and its got interfacing, but I added if for this so my pieces wouldn't stretch out of shape.


As it goes The waistband didn't stretch at all, probably because of the interfacing but I had to steam the bejeezus out of the front skirt panel because it had stretched. Seriously I must have been steaming for a good 10 minutes trying to work out why it was shrinking back down to size but at the same time not really caring as long as it did.


The pattern calls for a concealed zip But I didn't have one to hand so I just did a lapped zip. [I'm pretty sure this zip came from an old pair of trousers]


Here's my pattern matching down the back, Its about 2mm out which isn't too bad.


And down the sides, all the lines match up which I'm happy with but I think because of the nature of the shape of the skirt this is as good as it gets pattern matching wise.


And here's the waistband lining, I used a teddy bear print cotton because.......well teddy bears?

So yes all in all very pleased, I made a nice job finishing it and I'm glad I took the time to pattern match where I could!

Much Love

Frankie

xxx


Tuesday, 30 September 2014

Once, twice , three times a sleepy lady!

You remember not long ago I made myself my first pair of Margot pyjamas from love a first stitch? Well in an effort to really perfect my sewing I made another two pairs after that! both with variations! so without further ado ladies and gentlemen, please prepare yourself for some awkward posing and some props! Oh yeah its not just my awkward mug, its props as well! Id also like to apologise that you don't get a full view, but me and my tripod were having a bit of a row!

So grab a glass of wine, sit down and enjoy the ride! Go on have a giggle on me!


Here's my original pair! and no I haven't just woken up I thought the timer wasn't working! And here's Ted, if you haven't watched the Ted movie watch it! Its amazing and yeah it makes me cry!
 
Pair No.2
 
 
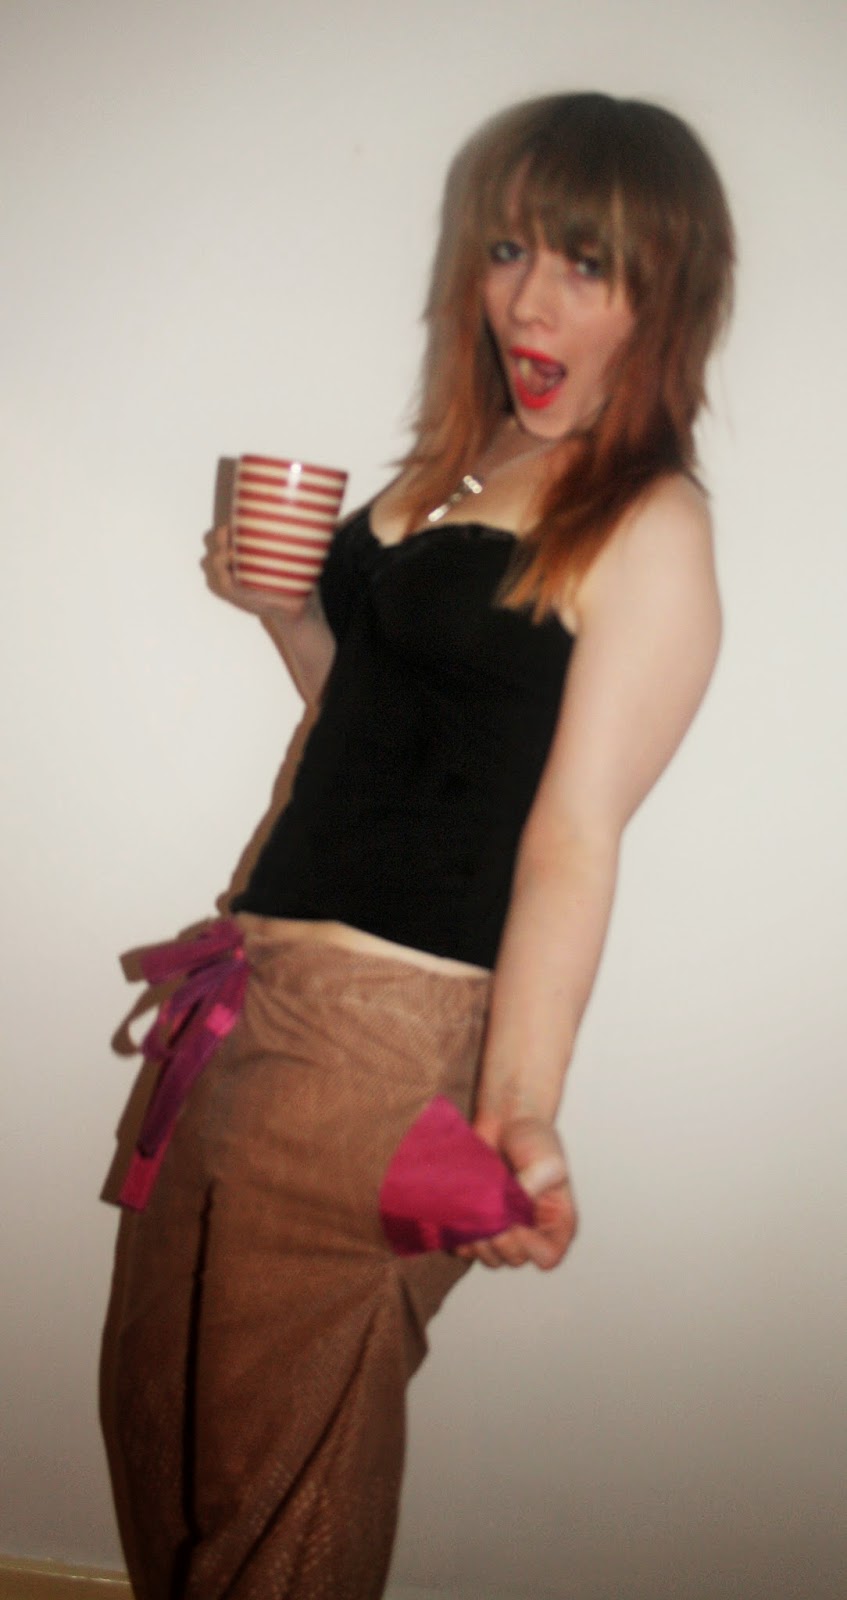
Is that an actual brew? Ill let you decide? But Frankie where's you hand?
 
 
Why its in my pocket! Yeah I made pockets! (smiles smugly) You can put things in them and everything!
 
Pair No.3
 
 
Short version, these don't have pockets but their still pretty darn sweet! Super awkward pose here!
 
 
This is snowy! I've had him since I was a little girl! we are inseparable! He's getting a little old now though, so don't be surprised if there's a post on here one day about me having to sew his head back on, he's got quite the floppy neck at the moment!

Anyway that's enough awkward poses for one day! But be prepared I've been doing a LOT of refashioning recently!

right I'm off to bed in pair No.2!

Much Love

Frankie

xxx

Sunday, 21 September 2014

Princess Brigette

First of all I'd like to apologise if any if this post makes no sense, I woke up this morning with a neck that felt like the entire England rugby team had run up and down it, whilst tackling rhinos. I don't know if I've slept on it funny or if it's just another side effect of being an incredibly tense person but either way it hurts like the devil and I've lost my hot water bottle. 

But in the plus side I finished my first TWO! Love at first stitch projects! YAY! As promised I'm starting at the beginning and doing one original and one variation of each pattern. So without further ado here's my Brigette scarf! 


I followed the instructions to the letter and I actually think it's pretty cute, and it's a good scarf length. 


I'm actually pretty proud of the top stitching on this , it's pretty darn even! 

Now for my variation! Which I'm lovingly calling the "princess" Brigette! 


I decided I wanted to do a scalloped edged version (the inspiration came from the scalloped edge Lilou dress!) so I cut the pattern, and then found an appropriate glass to draw my scallops. (And yes that is a whiskey glass)

 
After all my scallops were drawn I opted to pin each scallop individually for sewing.


If anyone I'd wondering why there's a penny in with my pins it's because my grandma used to say that if you have a penny in with pins you won't prick your fingers! 


After I pinned, I started sewing! This took me much longer than I thought it would! Scallops are hard! Then before I turned it inside out I clipped all of the edges so I would get a neat edge. Then I had to get my iron out, I gave it a really good iron . And I mean a REALLY good iron! 


And yes that is my kitchen work top. I hate ironing and I feel bad if I get the board out and then don't actually iron any clothes, hence no board no guilt! 

 
And voila! Princess Brigette! 

Have you done any pattern variations? 

Much love 

Frankie

Xxx